What Professional Paver Installation Really Includes (And Why It Costs More Than DIY Kits)

If you have ever priced out a patio or driveway project, you have probably noticed a major gap between the cost of a DIY paver kit and a professional estimate. At first glance, the materials may look similar. Pavers are pavers, right? Not exactly. The difference lies in the preparation, engineering, materials beneath the surface, and the skill required to install them properly.
True paver installation is not just about placing stones in a pattern. It is a structural process designed to support weight, resist shifting, manage drainage, and withstand Florida's weather conditions for years. When done correctly, it creates a surface that looks beautiful and performs reliably. When shortcuts are taken, the result can be sinking, shifting, cracking, and costly repairs.
Let's break down what professional installation really includes and why it justifies the investment.
1. Proper Excavation Depth
One of the biggest misconceptions about pavers is that they can be installed directly over existing soil with minimal digging. In reality, excavation is one of the most critical steps in the entire process.
Professional installers determine the correct excavation depth based on the project type. A patio typically requires a different base thickness than a driveway that must support vehicles. In Lakewood Ranch, soil conditions and drainage patterns also influence how deep the excavation must go.
Driveways often require 8 to 12 inches of total base preparation below the pavers. Patios may require 6 to 8 inches. That depth ensures enough space for compacted aggregate layers that prevent settling. DIY kits rarely account for these structural requirements, which is why many homeowner-installed patios begin to sink within a year or two.
Excavation also includes removing organic material such as roots and topsoil, which can decompose and cause movement over time. This step alone separates professional work from surface-level installations.
2. Soil Evaluation and Site Assessment
Before installing anything, experienced contractors evaluate the soil. Clay-heavy soil behaves differently than sandy soil. Some soil types retain water, while others drain quickly. Expansive soils can swell and shrink depending on moisture levels, leading to instability.
Professional crews assess:
Soil composition
Drainage patterns
Existing grade and slope
Water runoff paths
Load requirements
This evaluation determines how the base will be built and whether additional stabilization is needed. In some cases, soil compaction or stabilization methods are required before aggregate is installed.
This level of planning is often what distinguishes experienced teams from general installers. Reputable Lakewood Ranch paving contractors understand how local soil and rainfall patterns affect long-term performance.
3. Geotextile Fabric Installation
After excavation and soil preparation, professionals install geotextile fabric over the subgrade. This fabric serves multiple purposes:
It separates the soil from the aggregate base
It prevents soil migration into the base layers
It increases stability
It helps manage drainage
Without this separation layer, the base material can slowly mix with underlying soil. Over time, that mixing reduces the structural integrity of the foundation and contributes to sinking and uneven surfaces.
DIY installations frequently skip this step because it is not visible once the project is complete. However, it plays a major role in longevity.
4. Aggregate Base Installation and Compaction
The base is the backbone of any successful paver project. Professionals install crushed aggregate in controlled layers, typically 2 to 3 inches at a time, compacting each layer thoroughly before adding the next.
Compaction is not just a quick pass with a rented plate compactor. It involves:
Moisture control during compaction
Multiple passes for density
Edge compaction
Proper thickness measurement
Each layer must reach a high compaction level to prevent future settlement. Rushing this process or installing aggregate too thick at once reduces density and leads to movement later.
For driveways, base thickness is increased to support vehicle weight. The compacted aggregate distributes load evenly and prevents the pavers from shifting under pressure.
This part of the process is labor-intensive and time-consuming, which is one reason professional installations cost more than DIY kits.
5. Proper Grading and Slope
A paver surface must be designed to shed water effectively. Standing water can lead to erosion beneath the pavers and premature failure.
Professional installers carefully grade the base to create the correct slope. Typically, this involves a slight pitch away from structures to direct water runoff safely. The slope must be consistent and subtle enough to remain visually appealing while still functional.
Improper grading is a common cause of water pooling. DIY installations often lack the precision tools and experience required to calculate and execute proper slope.
6. Screeded Bedding Layer
Once the aggregate base is fully compacted and graded, a bedding layer of sand is installed and screeded to a precise height. This layer allows for minor adjustments during paver placement and ensures a uniform surface.
Professionals use screed rails and leveling techniques to maintain consistent thickness. The sand layer should not be used to correct major base imperfections. The base itself must already be level and compacted.
This attention to detail ensures the finished surface is smooth and stable.
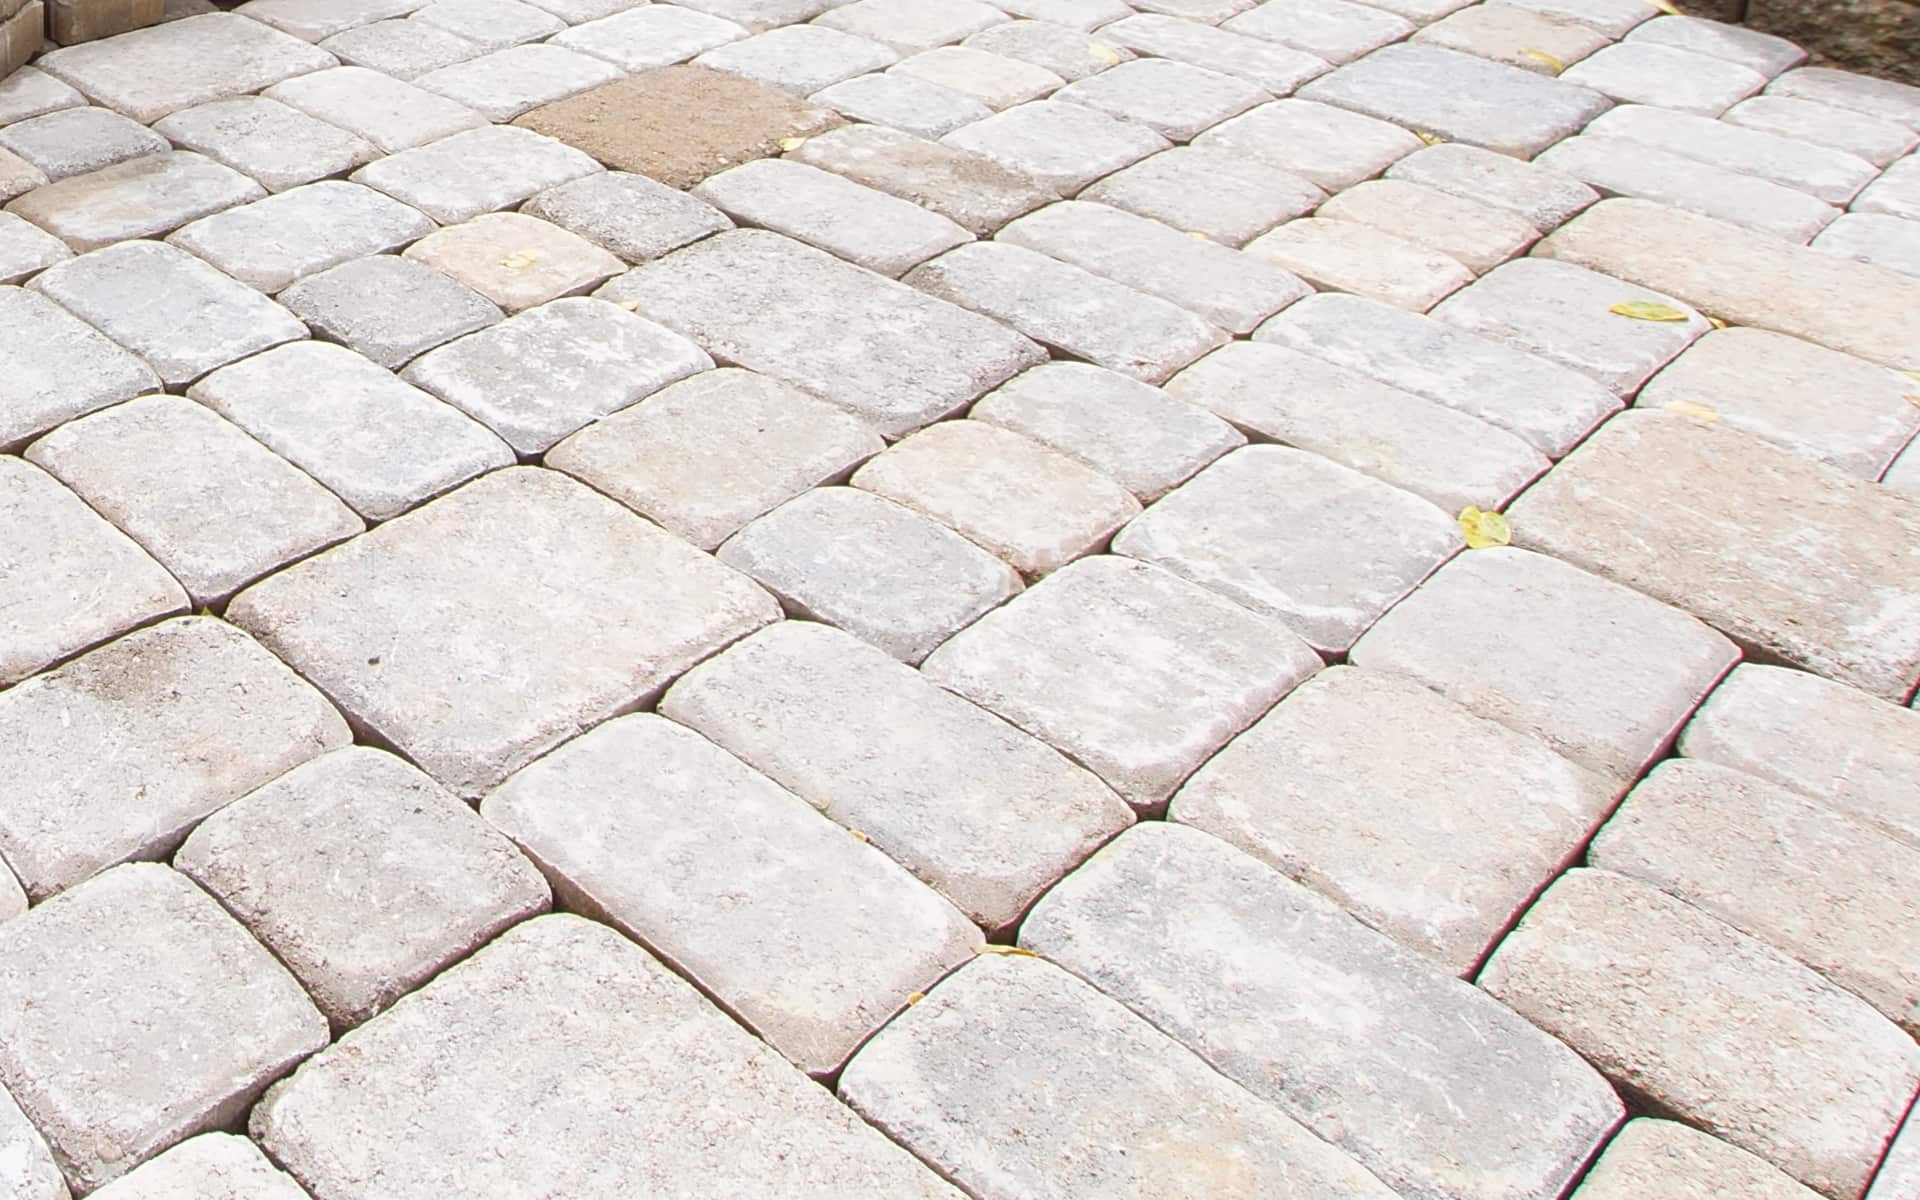
7. Precise Paver Placement and Pattern Alignment
Now comes the visible portion of the project. Pavers are placed according to the selected pattern, whether that is herringbone, running bond, or another design.
Professional installers focus on:
Tight joint spacing
Straight alignment
Consistent pattern flow
Clean cuts along edges
Cutting pavers to fit edges and curves requires specialized saws and skill. Poor cuts can weaken edges and reduce durability.
This stage is where craftsmanship becomes evident. A properly installed surface looks seamless and refined.
Correct grading protects both the paver surface and the surrounding property.
8. Edge Restraint Systems
Edge restraints are critical for preventing lateral movement. Without strong edge support, pavers can spread outward over time, leading to gaps and shifting.
Professional installations use durable edge restraint systems anchored securely into the compacted base. These restraints hold the entire field of pavers in place.
Skipping or improperly installing edge restraints is one of the most common DIY mistakes.
9. Polymeric Sand and Final Compaction
After the pavers are installed, polymeric sand is swept into the joints. This specialized sand contains binding agents that harden when activated with water.
Polymeric sand helps:
Lock pavers together
Reduce weed growth
Deter insects
Prevent erosion between joints
Once the sand is installed, the surface is compacted again to settle the pavers into place and ensure proper joint filling. The sand is then lightly misted to activate the binding agents.
This final step adds stability and contributes to the long-term durability of the project.
Why Professional Installation Costs More
When you compare the price of a DIY kit to a professional estimate, you are not just comparing materials. You are comparing:
Engineering and planning
Skilled labor
Heavy equipment
High-quality base materials
Drainage management
Long-term performance
A professionally installed paver surface is built to last for decades with proper maintenance. It resists sinking, shifting, and drainage problems because it is constructed as a structural system, not just a decorative surface.
In many cases, homeowners who attempt DIY installations end up paying twice when the project must be repaired or replaced.
Investing in Quality Over Shortcuts
The visible beauty of a paver patio or driveway is only part of the equation. What truly determines longevity is what lies beneath. Proper excavation, soil preparation, compaction, grading, and edge support are not optional steps. They are essential components of a durable installation.
Choosing professional paver installation means choosing craftsmanship, structural integrity, and long-term value. It means your investment enhances your property rather than becoming a recurring repair project.
For expert Lakewood Ranch paver installation backed by experience and precision, contact BIC Cleaning And Coatings today to schedule your consultation.
